While basic functions can be used entirely without it, you’ll need to understand the editor to take full advantage of the app’s advanced capabilities.
All posts on the blog are based on proper use of the editor.
Editor view
To open the editor view, click the editor icon in the side menu.
Fig. 1 - Editor icon.
You can imagine the editor as a piece of “canvas” onto which you’ll add various elements of your composition and connect them together. If the composition is empty, the editor contains no elements.

Fig. 2 - Editor view.
At the top edge of the editor, you can see the top menu.
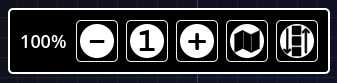
Fig. 3 - Editor top menu.
Using the top menu, you can (in order):
- decrease zoom
- reset zoom to 100%
- increase zoom
- toggle the mini-map (displayed in the bottom-right corner)
- align selected elements vertically
- revert elements position
You can also zoom in and out using the mouse wheel, or by pinching with two fingers on mobile devices.
Adding elements
Elements are added via the context menu. To open the context menu:
- Desktop: right-click an empty space in the editor.
- Tablet: touch and hold an empty space in the editor for a moment.
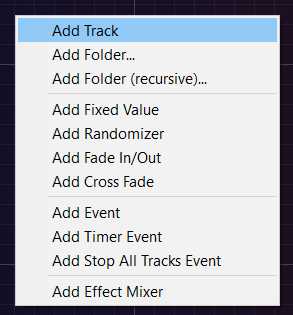
Fig. 4 - Context menu.
From the context menu, choose the element you want to add to the editor.
The element will appear where the menu was opened, but it can easily be moved elsewhere.
Adding tracks
To add a track (or an entire folder), select “Add Track(s)” or “Add Folder…” from the context menu.
A file selection window will appear. Choose the files (or folders) you wish to add to the editor. Once confirmed, the tracks will be processed and added side by side.
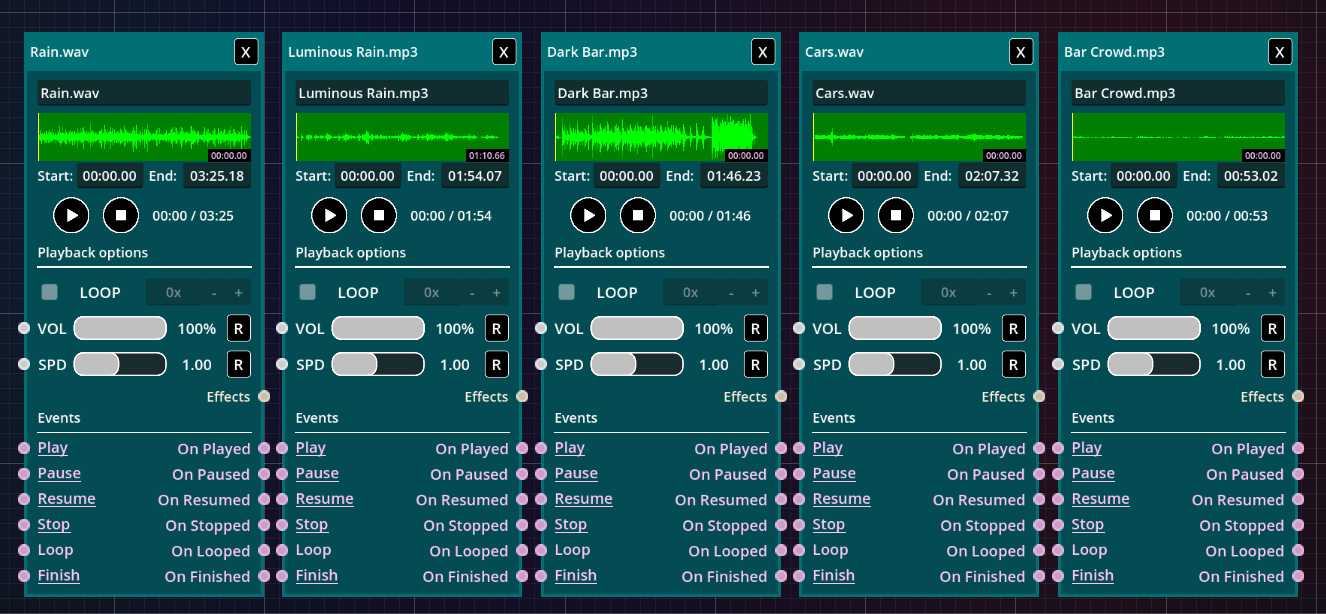
Fig. 5 - Tracks added to the editor.
Selecting and moving elements
To move an element in the editor, first select it by clicking on it. The top bar of the element will change to a lighter color.
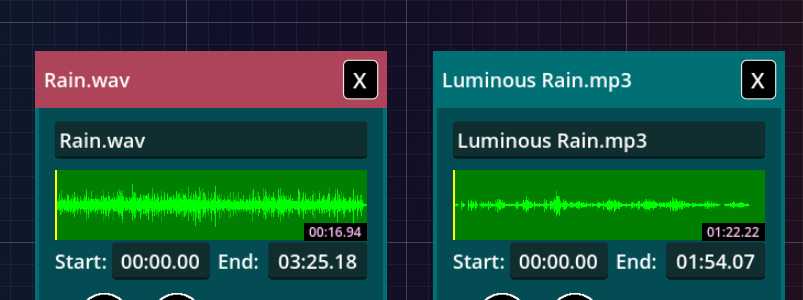
Fig. 6 - Selected element (left) and unselected (right).
You can then freely move the element anywhere on the editor canvas.
Click and hold the left mouse button, drag the element, and release the button to drop it.
Creating connections
Each element in the editor has slots that can be connected to other slots. These connections enable automation of many processes occurring during track playback. You can read more about automation here. For now, let’s focus on the simple action of connecting two slots together.
To create a connection between two slots, click the first slot (a large dot), hold the mouse button, drag it to another slot in a different element, and release. This creates a connection between the two slots.
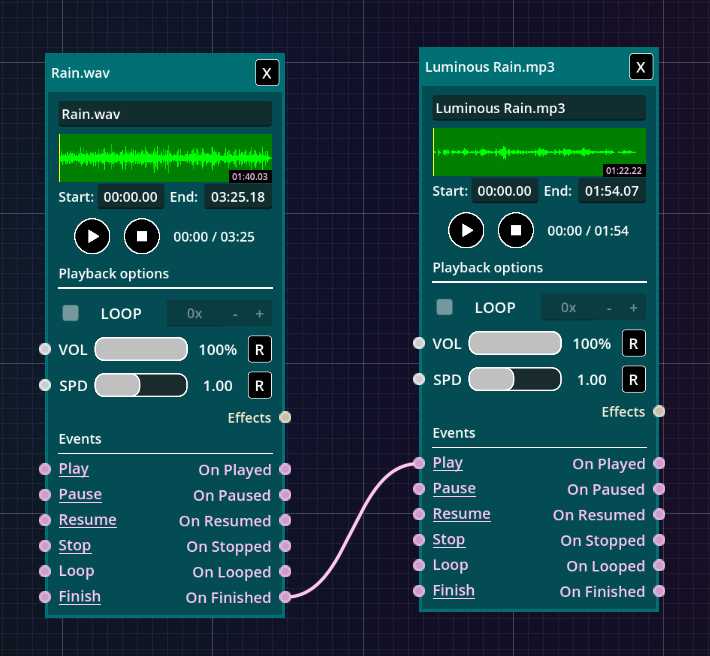
Fig. 7 - Connection between two tracks.
To break a connection, simply click on the right slot of the connection, drag it slightly away, and release the mouse button.
Next steps
This article only explains how to navigate the editor and work with its elements. To learn how to use specific editor elements, continue with the following articles.