A project consists of all elements: tracks, events, playlists, soundboards, and cinematic techniques. It’s the complete unit you’re currently working on.
Media (left column)
The left column contains two tabs:
- Tracks: all tracks added to the project.
- Events: events created automatically by cinematic techniques or created manually in the editor.
Tracks and events can be added to playlists.
Playlists and Cinematic Techniques (middle column)
The middle column is split into two parts:
- Playlists & Soundboards: the top part contains playlists and soundboards. This is where you set up your playlists and add sound effects for quick access during a session.
- Cinematiques: the bottom part contains the list of cinematic techniques added to the project.
Inspector (right column)
The right column is the Inspector, where properties of the selected items are displayed. You can edit properties of tracks and cinematic techniques there.
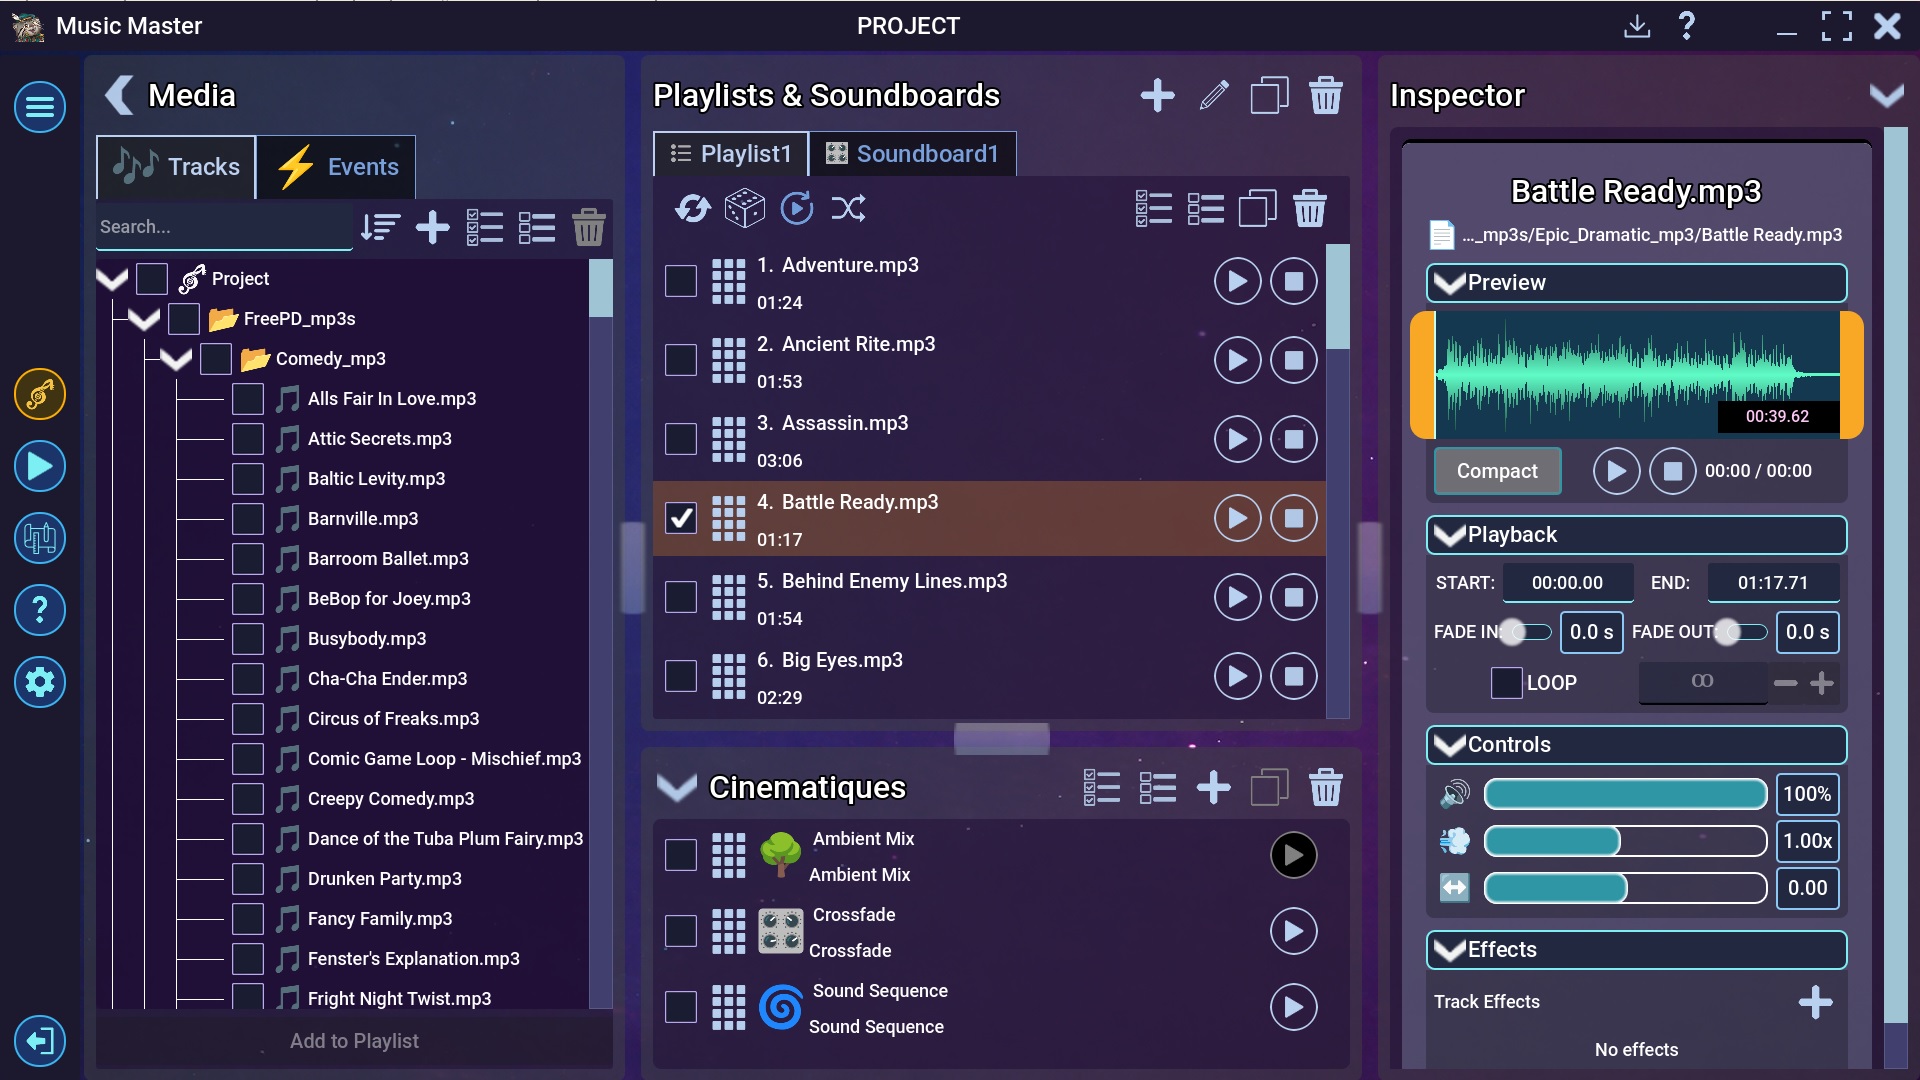
Example project.
Adding tracks
To add tracks to the project:
- In the left column, click Import (the large plus icon) and choose “Import files…” or “Import folder…” from the dropdown menu.
- Select the files or folders you want to add.
- After confirming, supported audio files will be added to the project tree.
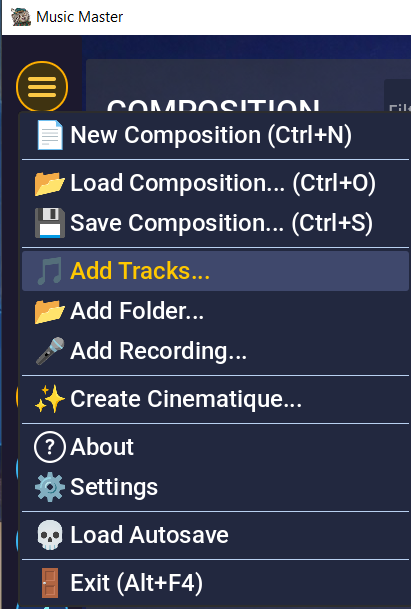
Import menu
Supported audio file formats:
- .wav
- .mp3
- .ogg
You can also add a track or an entire folder by dragging it directly into the application window.
Removing tracks
To remove tracks from the project, select them and click the trash icon.
Removing a track from the project tree will remove it from everywhere — playlists, soundboards, and cinematic techniques. All connections created in the editor to and from that element will be lost.
Saving and loading projects
Each project can be saved to a file (with the .mm extension) and later loaded again.
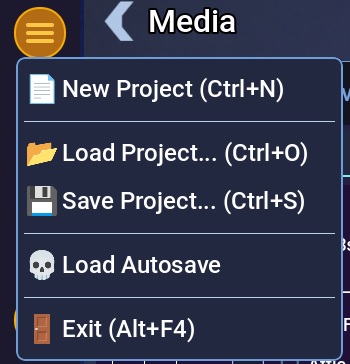
Main menu
Using the main menu (top-left corner), you can:
- “New Project…”: create a new empty project.
- “Save Project…”: save the project to a file.
- “Load Project…”: load the project from a file.
- “Load Autosave”: load the auto-saved project.
The file stores relative paths to audio files. This means that if you move a track to a different folder, the project containing it will not load correctly. To avoid problems, it’s best to save the project in the same folder as your audio files.